
Table of Contents
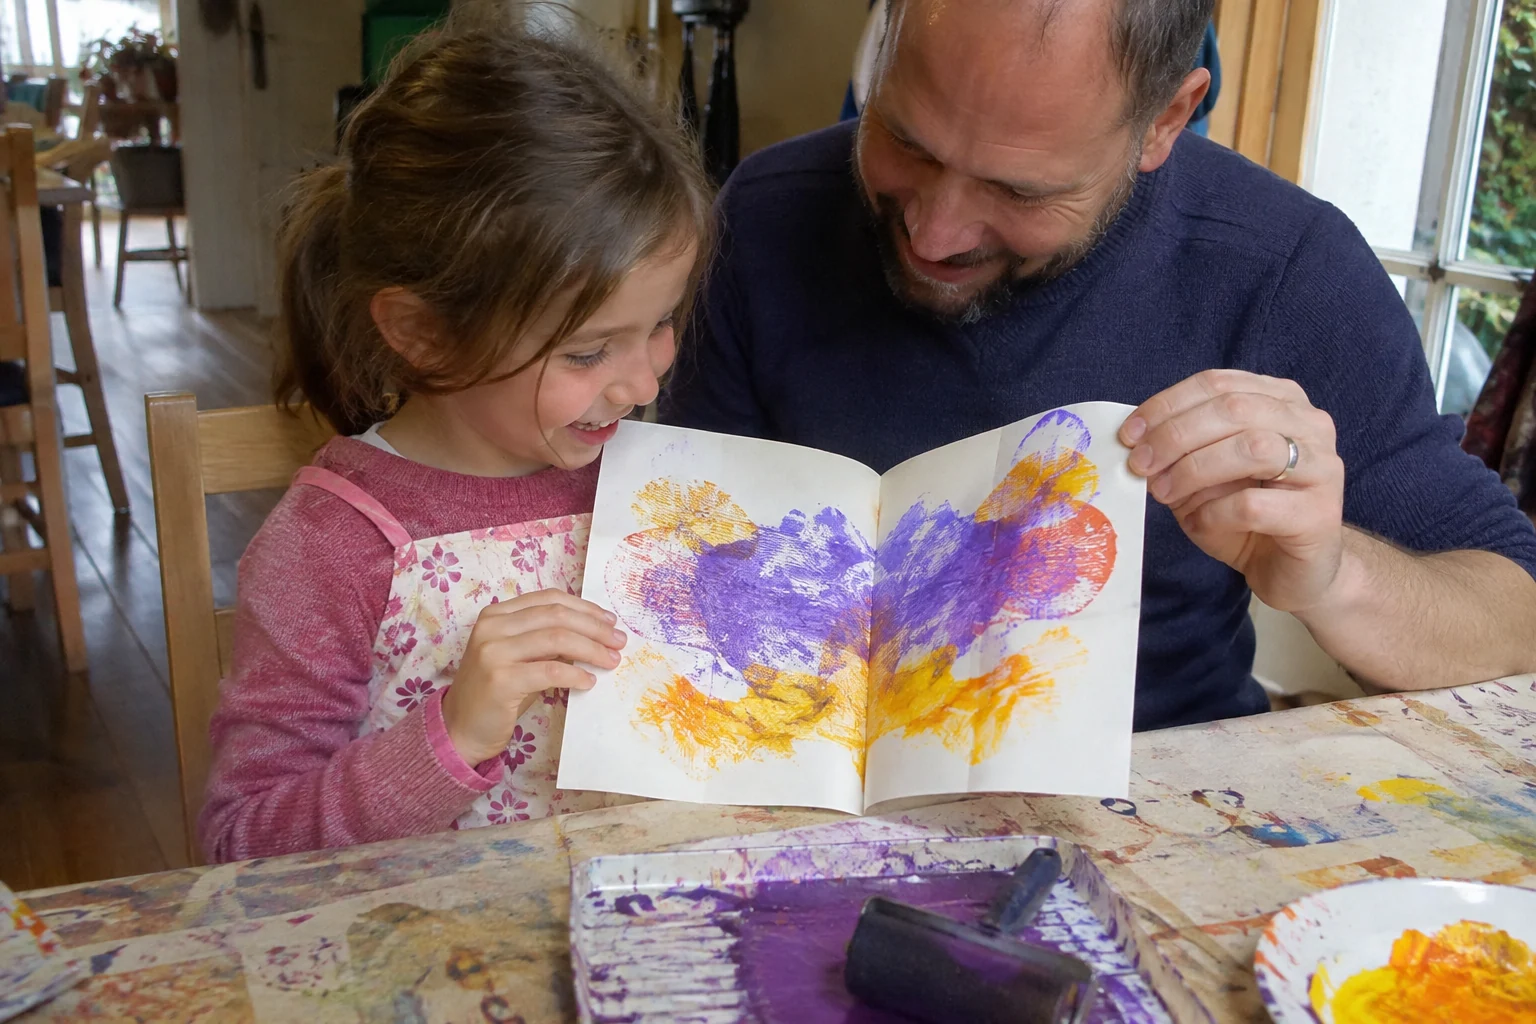
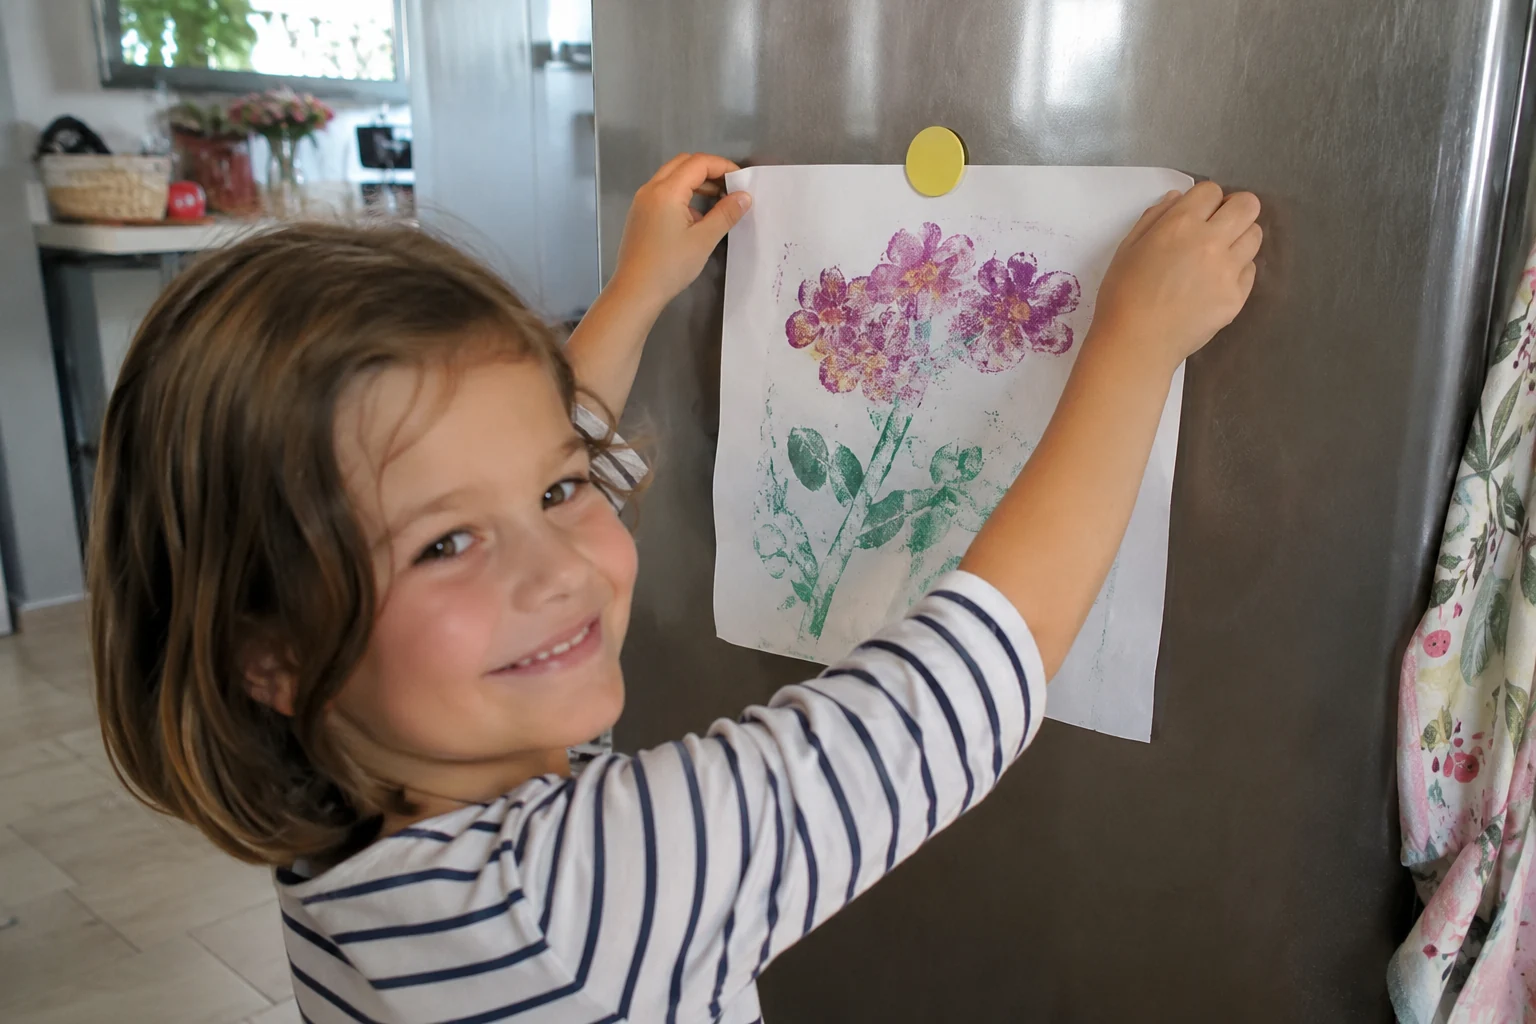
To try monoprinting with a child, spread a thin layer of suitable paint on a smooth plastic surface without sharp edges. Remove a few lines from the paint, place paper on top, press gently, and lift it. An adult prepares the materials; your child compares the surface and print without a perfect model to copy.
What materials should you prepare together?
Choose washable paint intended for children and suitable for their age according to its label, a small smooth plastic surface without sharp edges, paper, a broad brush, and a table covering. An adult checks and stabilizes the surface. This version uses no glass, solvents, or carving tools. Washable does not mean paint can be put in the mouth.
Prepare a place for the print to dry before starting. Put paper within reach and choose one color for the first trial. If your child does not want to touch paint, they can observe, choose a line, or ask you to transfer the image. The activity is an invitation, not a task to complete despite discomfort.
| Option | Materials | Suggested duration | Possible support |
|---|---|---|---|
| Ages4–6 | Prepared surface and suitable paint | One trial at your pace | Adult stabilizes and lifts |
| Ages7–10 | Same materials | Compare two trials if desired | Choose one change |
How do you spread and remove paint?
Spread a thin layer over a small part of the surface. It should remain ready to transfer; there is no need to cover everything. Use a suitable rounded tool to remove a little paint along a line. Begin with a simple path rather than a detailed figure. The image is prepared in the paint and then transferred, unlike drawing directly on paper.
Le Vecteur describes painting on a smooth surface, while the Rockwell Museum offers a family version using lines removed from paint. This adaptation favors plastic without sharp edges and materials intended for children. A demonstration using glass or artist paints does not mean you need those supplies. Keep the sequence clear: prepared surface, visible line, paper ready.
Find three actions
Prepare the surface
Keep a thin layer and paper within reach.
Remove a line
Use a suitable rounded tool, not a carving tool.
Transfer and observe
Press gently, then lift without sliding the paper.
How do you transfer without sliding the paper?
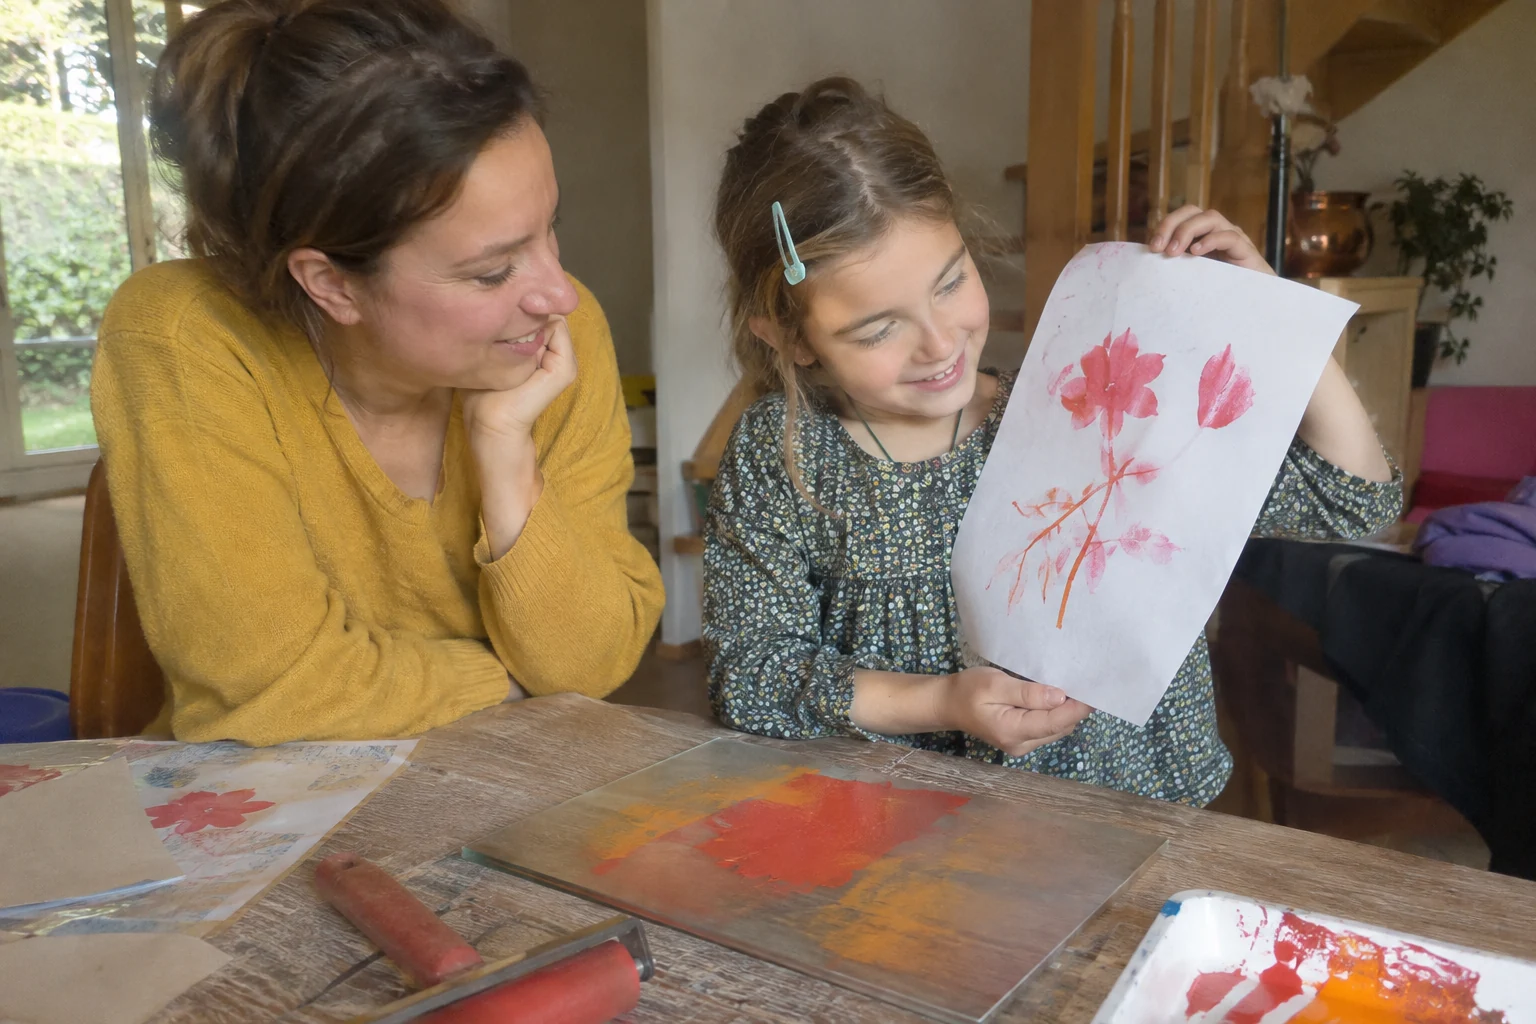
Place the paper over the design with whatever help is needed. Keep it still and press gently with a flat hand; rubbing hard is not the goal. You can hold an edge while your child presses another area. Lift the paper gradually to see the print. If it moved, describe the marks before trying again.
The setup matters as much as the movement: a surface that rolls, unreachable paper, or crowded supplies can make handling harder. First change what gets in the way. Our small fine-motor games offer other ways to manipulate materials without measuring development. Stopping after one print is also an option.
Check the procedure
Must we press very hard?
No. First adjust setup and support.
Will a second print be identical?
Not necessarily: remaining paint and contact change.
Is a reversed print always symmetrical?
No. Transfer and symmetry within one figure are different questions.
What if the print is pale or smeared?
Look at the surface and paper side by side. A pale mark suggests checking the remaining paint and paper contact. A smear suggests observing whether the sheet slid or the paint layer was very thick. These are things to investigate, not a definite diagnosis from an image. Change one thing at a time to see what happens under your conditions.
Keep the first sheet if your child wants. A second impression from remaining paint may look different or lighter; it is not a guaranteed copy. Calling the print unique does not mean no further mark can appear. To count trials, connect each sheet with its transfer instead of counting every mark as a separate new picture.
Does a reversed image have to be symmetrical?
Transfer can reverse the design’s orientation when you compare the surface with the print. That does not automatically make the drawing symmetrical within the sheet. Choose a simple mark with different sides and compare details. There is no need to start with letters, which add a reading and writing challenge.
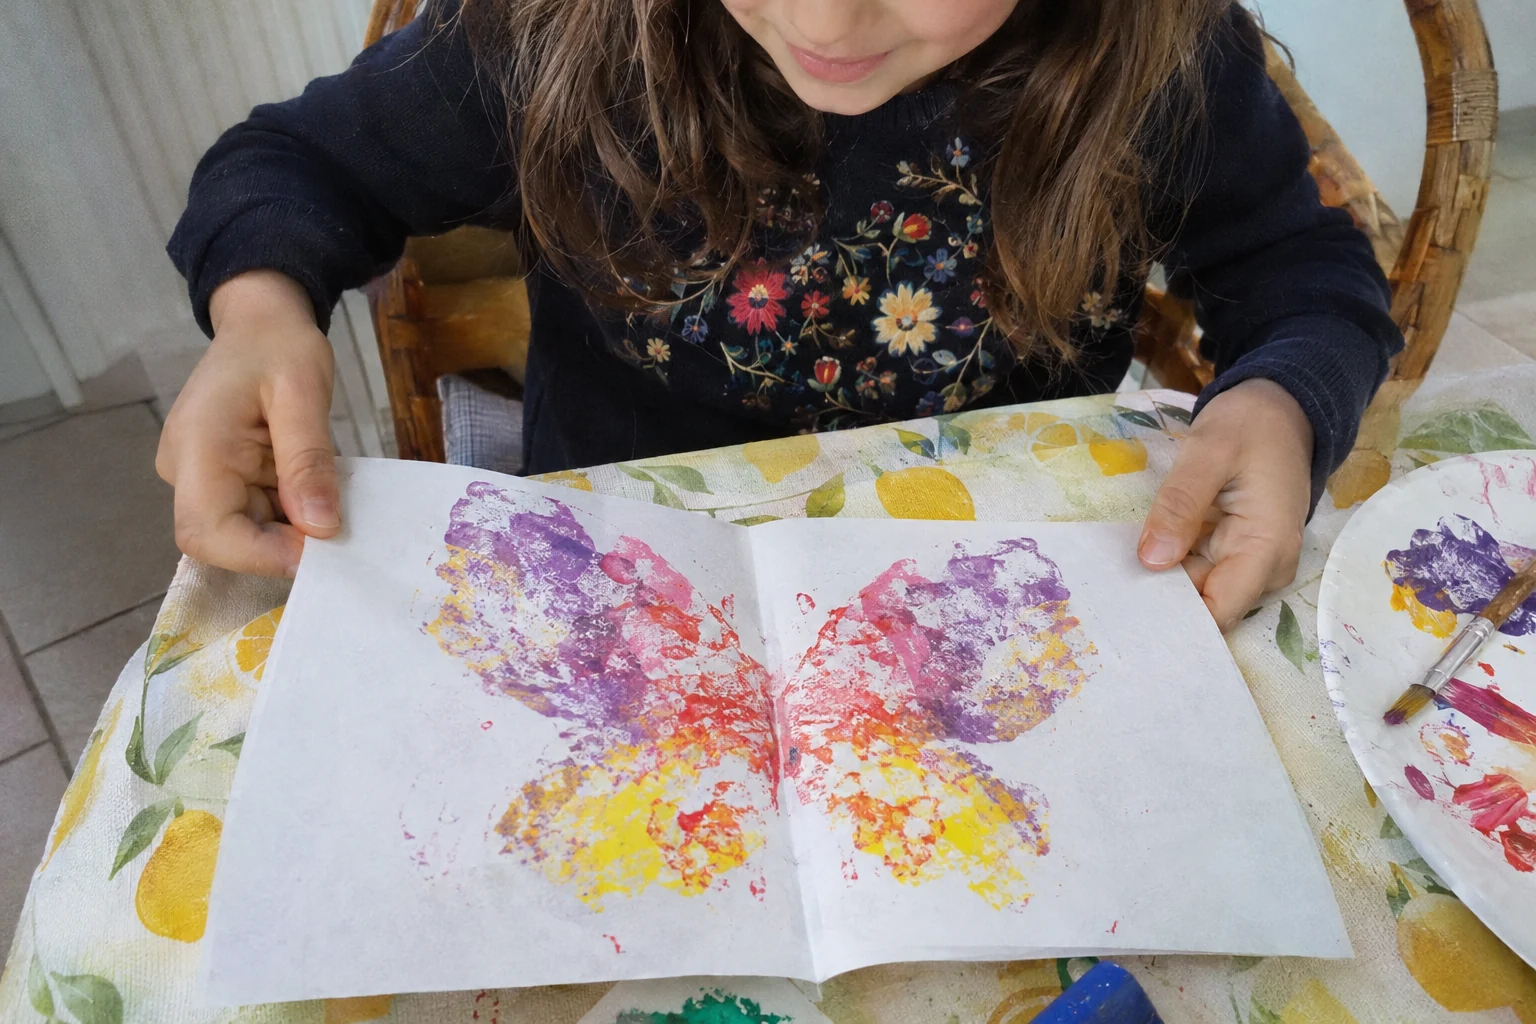
Folding to explore symmetry asks another question: do the two parts of one figure match across an axis? Folded paint and a transfer from a surface are different procedures. If your child invents an irregular shape, keep it; this activity does not require a perfectly balanced butterfly.
How can you adapt the session and keep a record?
For younger children, an adult can stabilize the surface and lift the paper. Older children may choose the next change and describe its effect. These are options, not age standards: support depends on the materials, interest, and situation. A session can stay short without completing every space on the sheet.
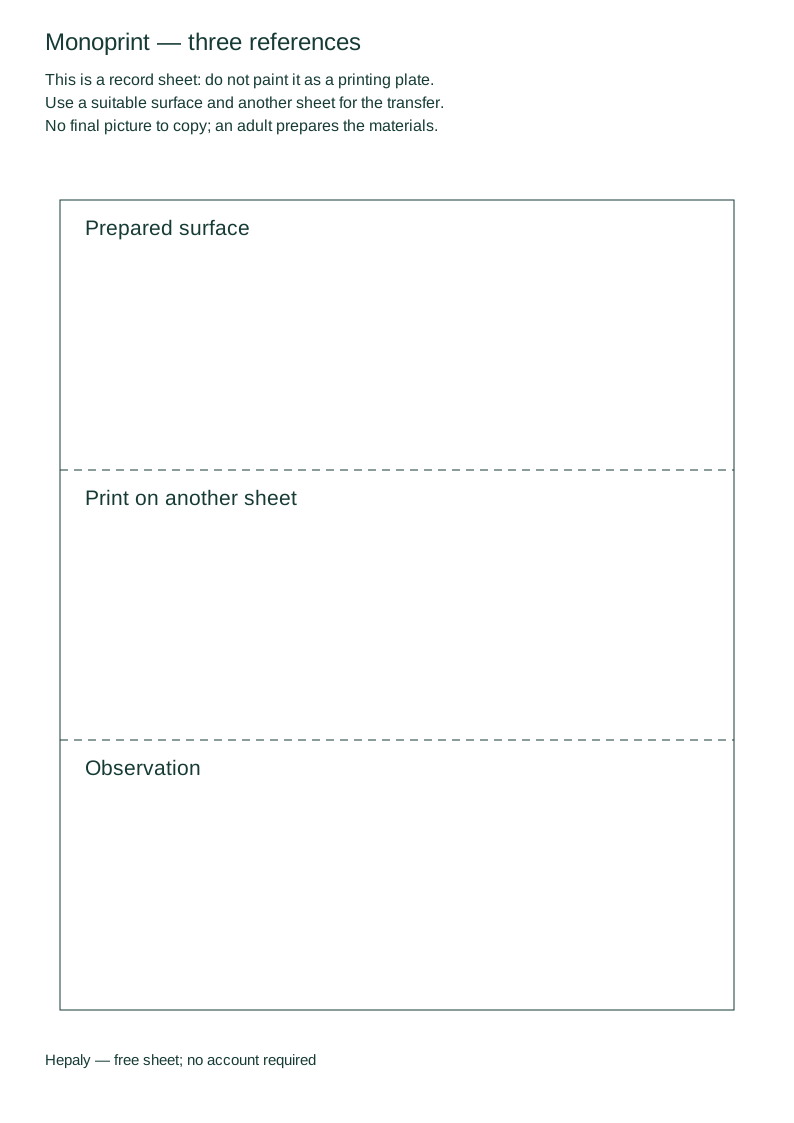
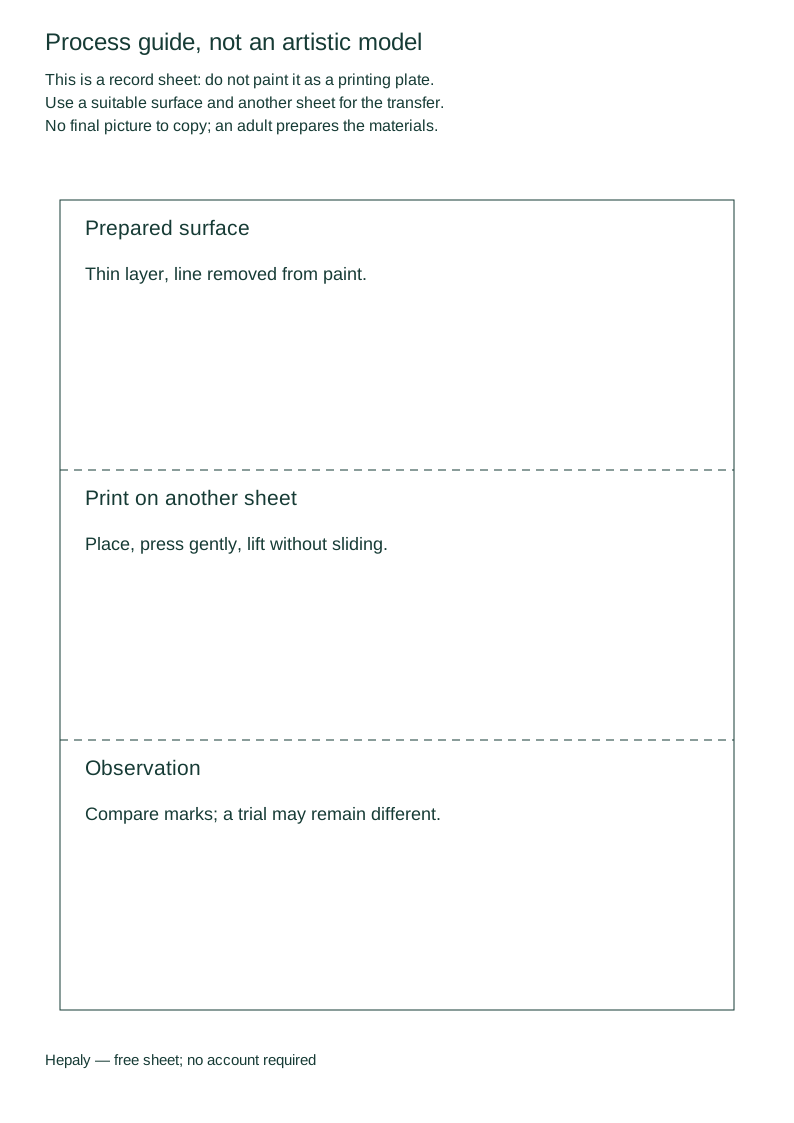
Our free sheet prepares three references: surface, print, and observation. The separate guide explains the procedure, not a correct drawing. For another activity, creative games and folded collaborative drawing offer different rules. Hepaly workbooks are commercial64-page French PDFs; this workshop’s free sheets are available in all three languages.
Prepare together
Check to prepare; no data is stored.
Frequently asked questions
Do we need a glass plate?
No. This version uses a smooth plastic surface without sharp edges, prepared by an adult.
Which paint should we choose?
Washable paint intended for children and suitable for their age according to its label.
Do we carve the surface?
No. Lines are made in the paint; no carving tool is needed.
Can we make a second impression?
Sometimes from remaining paint, but it may be lighter or different; it is not a guaranteed copy.
Does the printable replace the painted surface?
No. It is a preparation and observation sheet; use a separate suitable surface for paint.
Is there one correct artistic result?
No. The guide checks the procedure and leaves the design to your child.